How to generate an email signature? How to use PostaImza
Use in three steps
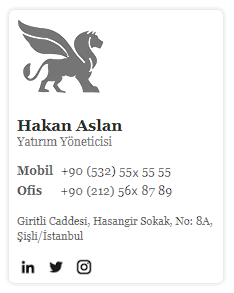
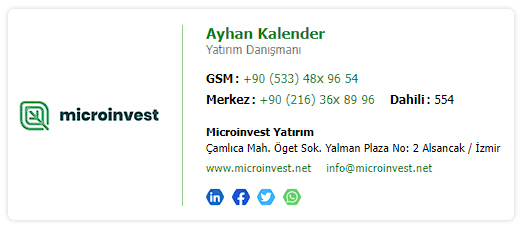
Generate sleek-looking email signatures
To generate a signature, company/corporation/organization/person info is entered and saved on the page opened by clicking the 'Add Corporation' button on the 'Corporation & Signature Settings' page.
To add a signature on the 'Add Signature' page, select the corporation and enter the information of the signature owner.
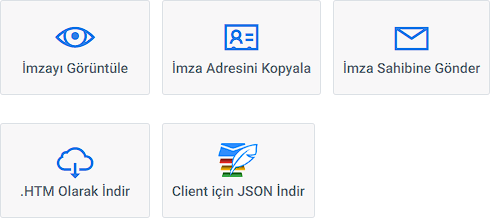
To display signature and copy to Outlook, the corporation name and signature are selected from the lists on the panel homepage, and the 'Display Signature' button is clicked.
Detailed usage options
The 'Send to Signer' button is used if the signer will view, copy and paste his/her signature into the Outlook. The signature display link address is sent to the email address of the signatory registered in the panel.
If the signature on the relevant computer will be updated by overwriting .htm file, the 'Download as .HTM' button is used.
Downloading signature data file for the client is done with 'Get JSON for Client' button. All signatures added to the corporation can be updated with a single command by using the client.
About Display signature
The following information also applies to Copy Signature URL and Send to Signer.
On the display screen, signatures should be selected using the CTRL+A keys, do not select with mouse,
To copy, CTRL+C keys should be used, copy command should not be given via right-click menu,
Signature to be copied should be copied while viewing it with Google Chrome, and pasted using CTRL+V to the Edit signature textbox on the Signatures page of Outlook.
About Download as .HTM
In order to use the .HTM file, a new signature with blank content must be created in Outlook on the relevant computer or an existing signature must be found.
Downloaded .HTM file will overwrite the signature .HTM file installed on the relevant computer.
Name of the .HTM file can be changed, but its content should not be changed.
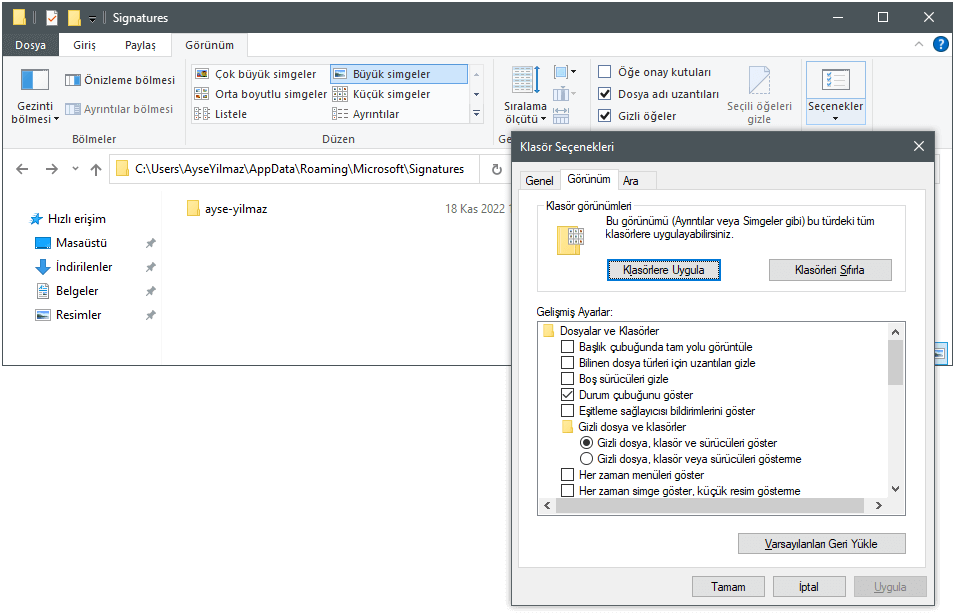
For Windows Vista to 11, .HTM files of signatures installed on the computer are found under this directory: 'C:\Users\%UserName%\AppData\Roaming\Microsoft\Signatures'
In order to view this folder, 'Show Hidden Files' option must be checked from Folder Options.
About Get JSON for Client
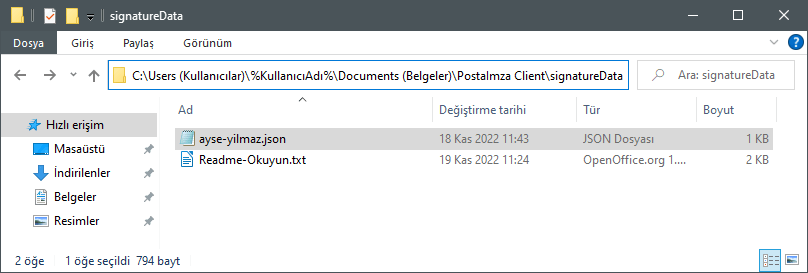
Updater reads from a JSON file which signature to download to the computer from Postaimza.com. When the signature JSON file to be downloaded from the panel homepage is placed in the 'signatureData' folder in the directory where the PostaImza Client Signature Updater program is installed, the updater detects which signature to check on that computer. Downloading the JSON file and placing it in the folder is done only once.
Downloaded JSON file is pasted into the 'signatureData' folder in the directory where the PostaImza Client is installed.
In order for the client to work properly, the name or content of the JSON file should not be changed.
About Add corporation
General appearance of the signature is determined at the time of adding corporation. Thus, all signatures belonging to the corporation are displayed similarly.
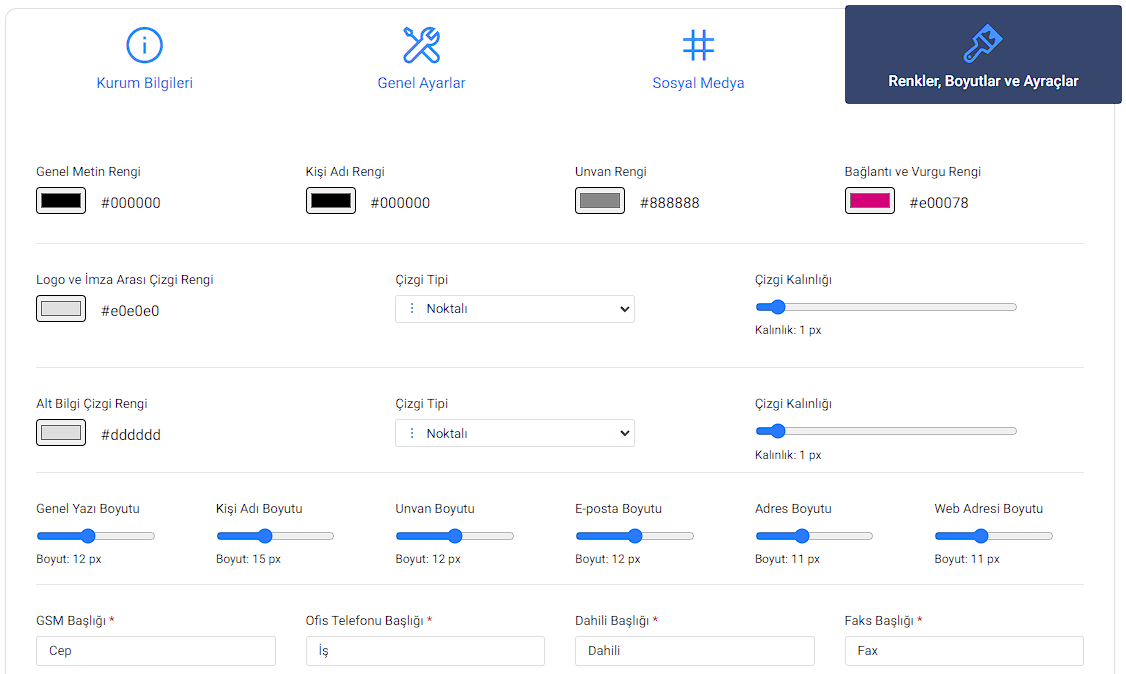
Process of adding corporation consists of 4 tabs: The 1st tab contains the corporation name, logo and signature settings, the 2nd tab contains the contact info about the corporation, the 3rd tab contains the social media settings and the 4th tab contains the signature view options.
There are only 2 fields that must be filled when adding a corporation; Corporation/Company or Individual Name and Logo/Photo URL Address. When these two fields are filled, an corporation can be added. You can tick the 'Do not show logo or photo' option to generate a signature without a logo. All other options are preset, you can change them according to your preference.
Logo or photograph should have a width of 80-800 px and a height of 20-600 px.
Logo URL can get images from an address using https protocol, it cannot work with http protocol.
Settings such as the signature's shape, appearance, colors, lines, abbreviations, options for what to display can be changed on the 'Edit Corporation' page after the corporation has been added.
About Edit corporation
It is used to change the corporation information or the appearance of the signatures.
When a corporation info is changed, update info is sent to the updater software of all signatures added to that corporation and all signatures are updated with the change made in the panel (if an updater client is used). When you change any info in the signature or the general appearance of the signature, for example, the thickness of a line or the color of a text, all computers using the client will receive the update you have made and their signatures will be available in their new Outlook.
About Add signature
Each time a new signature is added, an 'Explicit Consent Text' confirmation is sent to the email address of the added signatory. Once the signatory confirms the text, the signature adding process is completed.
Up to 10 signatures can be added in the free usage.
You can leave other fields that you do not want to fill blank, empty fields will not be displayed.
About Edit signature
If the email address is changed while issuing the signature, an 'Explicit Consent Text' will be sent to the new email address again and it will be asked for confirmation.
Each signature can be updated up to 3 times a day. This limit is set for security reasons, it cannot be changed.